
Perfectly Proofed Bread
Ensure your homemade bread rises beautifully every time by creating an ideal warm, moist environment for the dough.
Benefit of this tip
This method prevents your dough from drying out and provides the consistent warmth needed for yeast to activate optimally, resulting in a light, airy crumb and a perfectly risen loaf.
Tools you’ll need
- Large mixing bowl
- Plastic wrap or damp kitchen towel
- Oven-safe bowl/pan
- Oven
Step-by-step instructions
Achieving a perfect rise is crucial for light and airy homemade bread. Here’s a simple trick to create the ideal proofing environment:
-
Warm up your oven: Briefly preheat your oven to its lowest setting (around 150-200°F or 65-95°C) for just 1-2 minutes, then turn it OFF. You want it warm, not hot.
-
Boiling water: Place an oven-safe bowl or pan filled with about 1-2 cups of boiling water on the bottom rack of your slightly warmed oven.
-
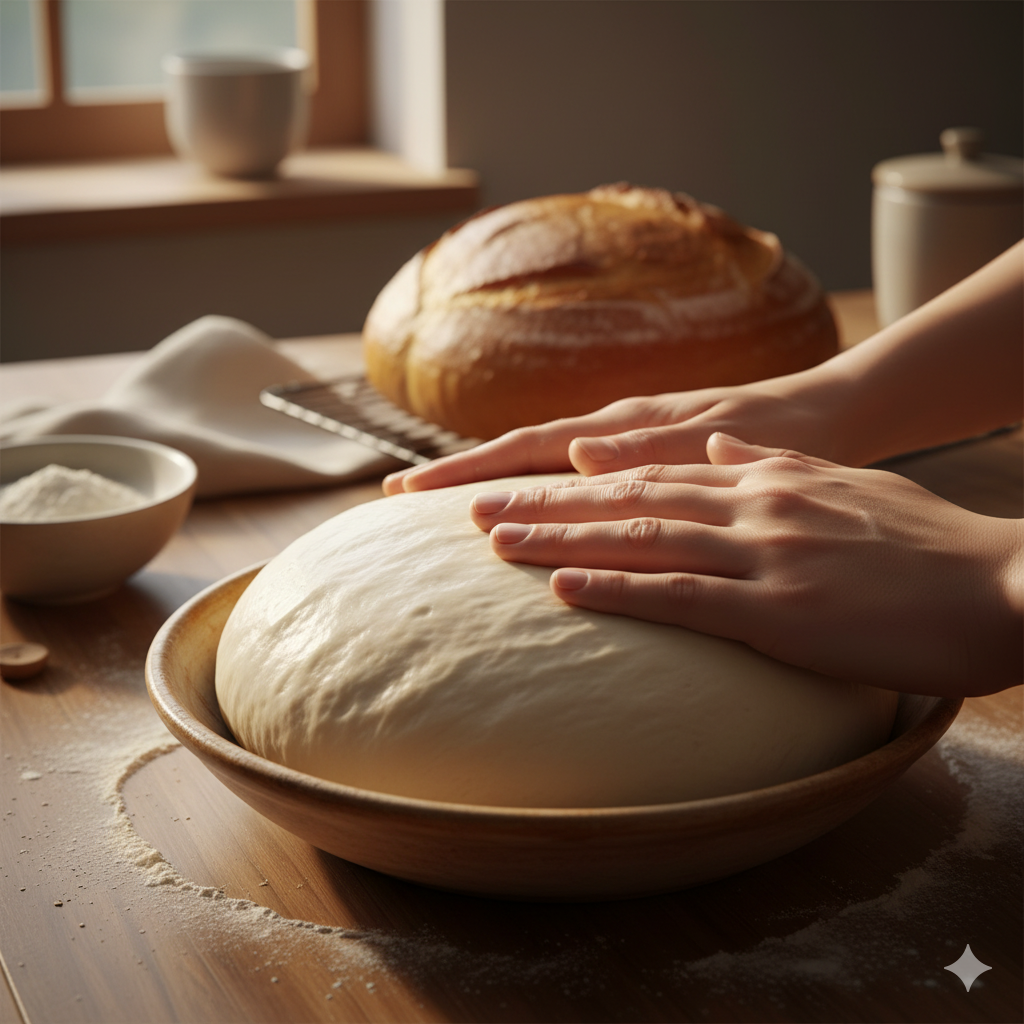
Prepare your dough: Place your dough in a lightly oiled, large bowl. Cover the bowl tightly with plastic wrap or a clean, damp kitchen towel.
-
Proof: Immediately place your covered dough bowl on a middle rack in the oven, above the hot water.
-
Seal it: Close the oven door. The residual heat from the oven and the steam from the hot water will create a warm, humid, draft-free environment perfect for proofing.
-
Check for rise: Let the dough rise until doubled in size (this can take anywhere from 45 minutes to 2 hours, depending on the recipe and yeast).
This technique creates a miniature proofing box right in your kitchen, ensuring consistent results every time!